Enabling the Divi Visual Builder
It is assumed that you know how to enable and disable the Divi Visual Builder. If you do not know how to engage the Visual Builder, please read our blog tutorial here:
WordPress and Divi: Enable and Disable the Visual Builder
Edit the Text Module
Once you have logged in, navigated to the page you wish to edit, and engaged the Divi Visual Builder, follow these steps to edit text modules.
Engage the Text Editor
Scroll to the area of text you wish to update.
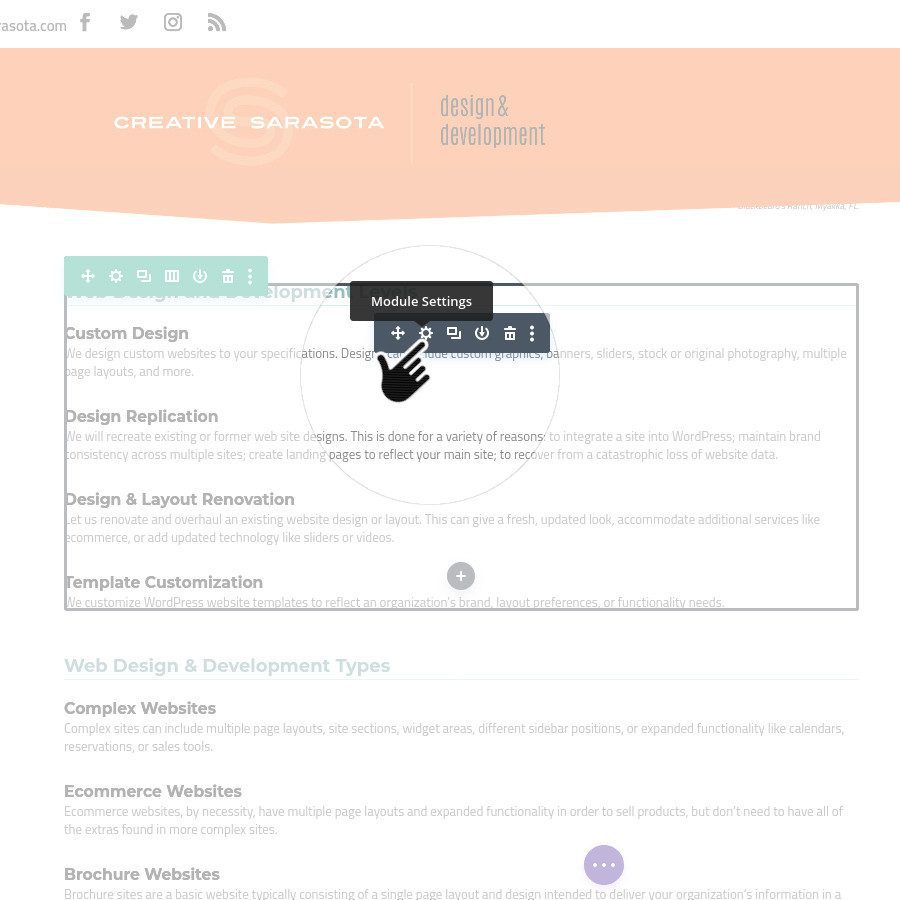
Put your mouse over the module you wish to update. When you mouse over the module, a gray border and a gray bar with icons will appear.
Click on the Cog icon ![]() in the GRAY tool bar that appears.
in the GRAY tool bar that appears.

Edit Your Text
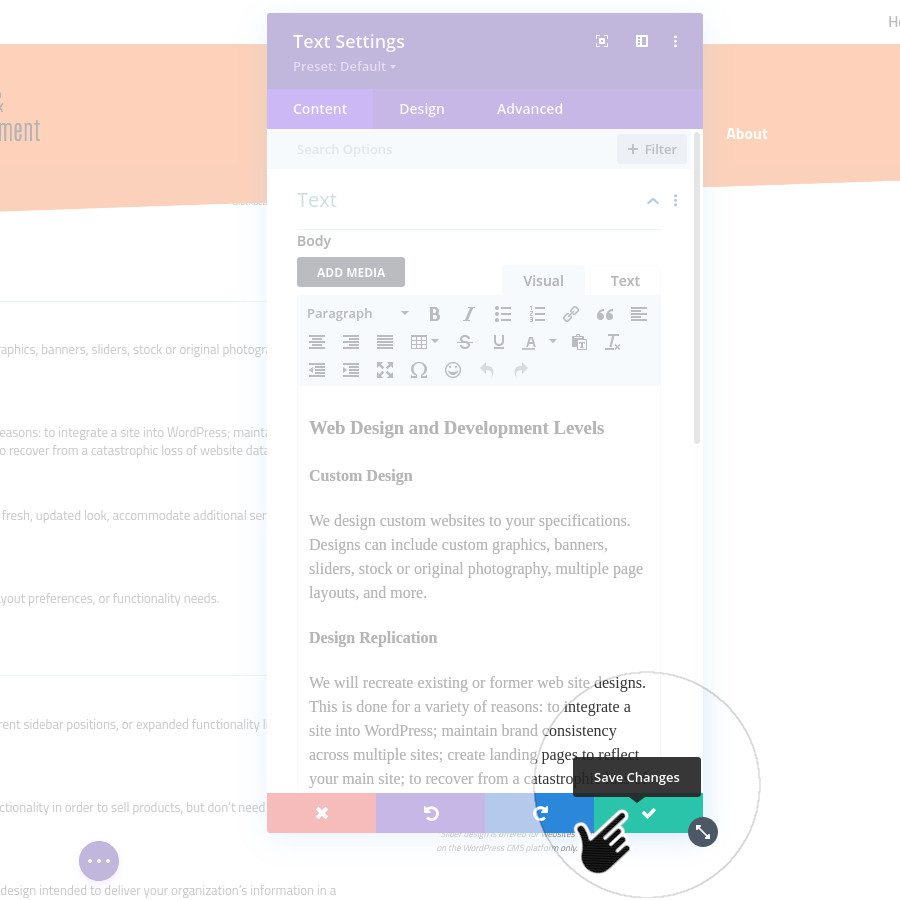
A text editor will appear.
This editor is similar in appearance and function to the native WordPress text editor.
Add, remove, or modify the copy you wish to affect in the edit box.
Note: The editor window can be grabbed and moved around the page or docked on the side. To dock the window, click on the dock icon ![]() in the upper-right corder of the text editor window.
in the upper-right corder of the text editor window.

Save The Module Edits.
Repeat if Necessary.
When you are done editing, click the green “Check Mark” in the lower right corner of the edit box. The window will disappear.
Repeat all of these steps again if you wish to make any more edits to different text modules.

Open the Web Page Control Panel
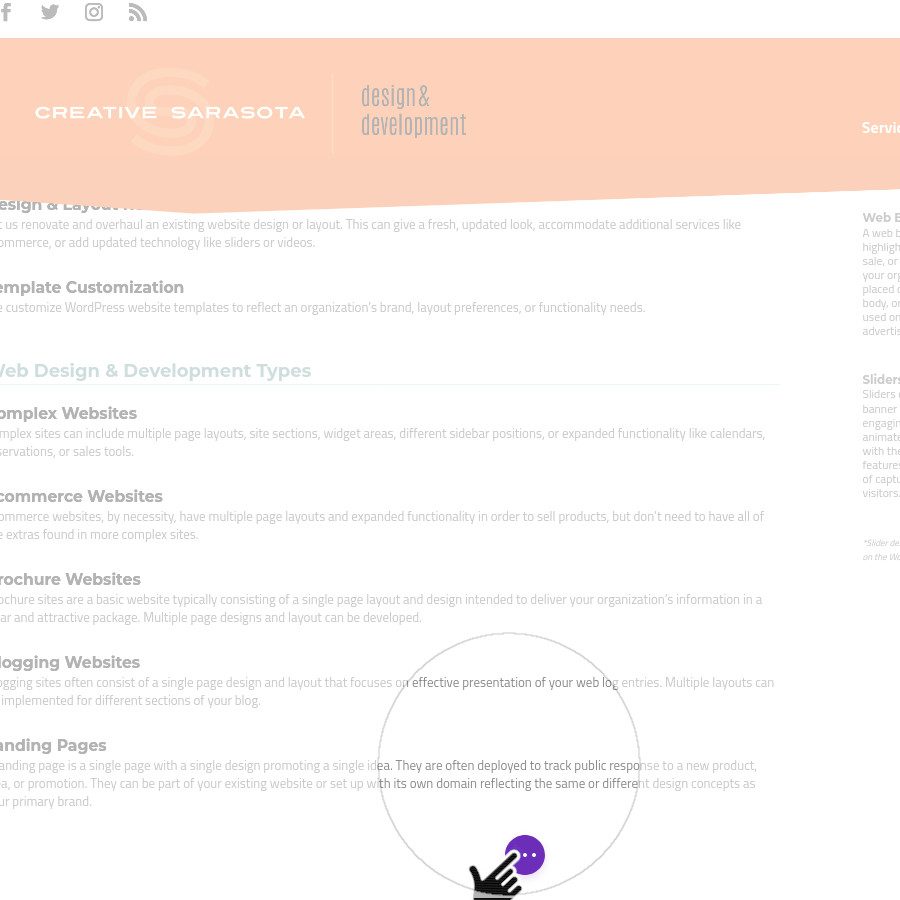
When you are done editing the web page, click the Purple Circle with the 3 dots in the lower center of the window. This will expand to display more options.

Save and Exit
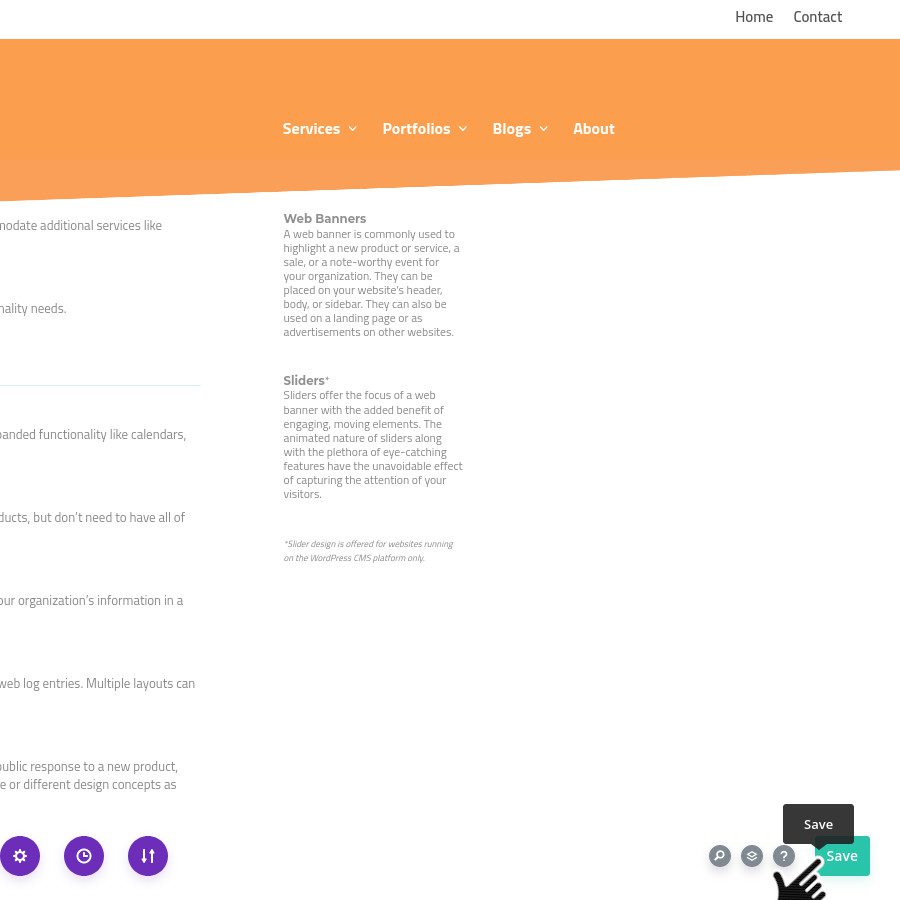
Click the green button with the word “Save” in the lower right corner of the window.
After clicking it, the button will display dots rotating in a circle.
Wait until the circle stops rotating and you see a Check Mark.
Exit the Visual Builder.


